Trezor.io/Start – Your Gateway to Secure Crypto Storage
Learn everything you need to know about setting up your Trezor hardware wallet safely through trezor.io/start. This guide helps beginners and mid-level crypto users take full control of their digital assets securely and confidently.
Introduction: The Importance of a Secure Crypto Wallet
In the evolving world of cryptocurrency, your assets are only as safe as the wallet that stores them. While software wallets provide convenience, they often fall short in terms of complete security. That’s where hardware wallets like Trezor come in. Accessible through trezor.io/start, Trezor helps you take your crypto offline — away from hackers, phishing attacks, and malware threats.
Whether you’re just getting started or switching from another wallet like Ledger Live App or MetaMask, this step-by-step guide explains everything about setting up Trezor, using its software, and understanding how it protects your funds in today’s volatile crypto landscape.
Step-by-Step Guide: How to Start with Trezor.io/Start
Getting started with Trezor is simpler than it sounds. Follow these steps to ensure your wallet setup is smooth, secure, and error-free.
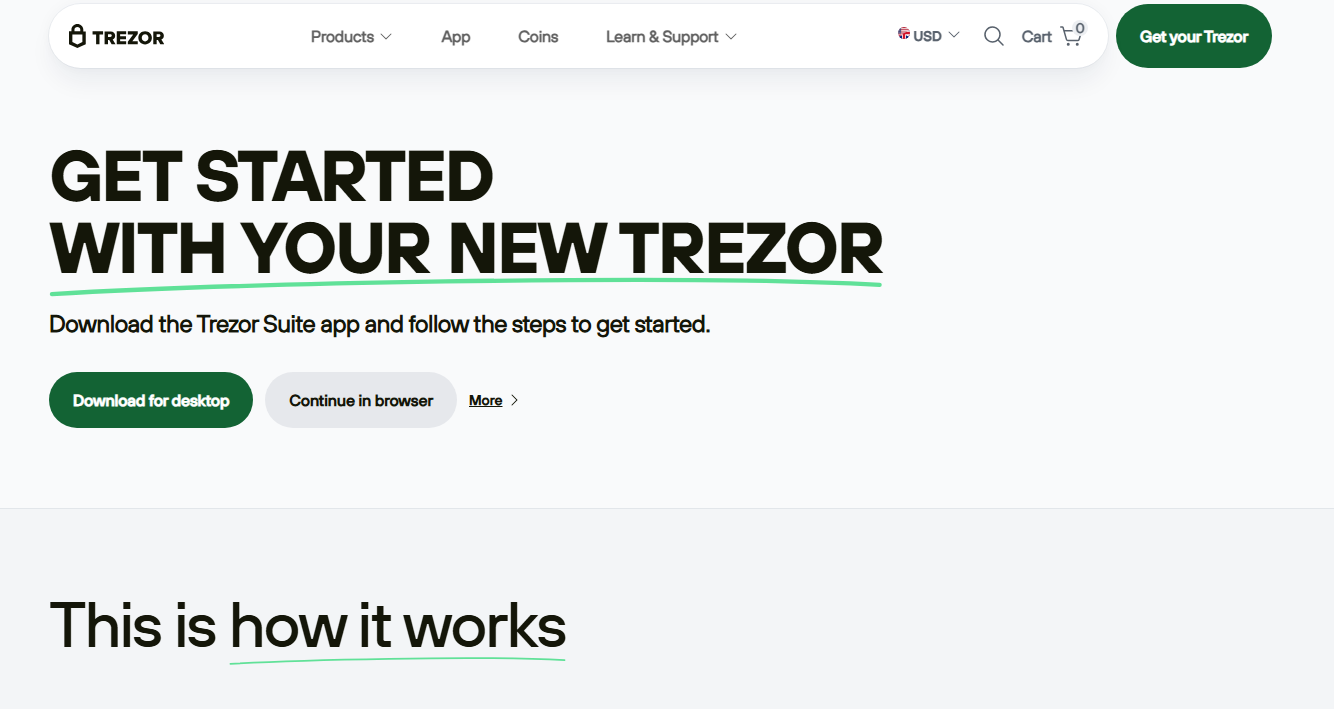
Step 1: Visit Trezor.io/Start
Open your web browser and go to trezor.io/start. This is the official onboarding page for all Trezor devices, whether you’re using the Trezor Model One or Trezor Model T. Be sure to type the URL manually and verify the SSL certificate to avoid phishing sites.
Step 2: Choose Your Device
The site will automatically detect or ask you to select your model. Each model offers unique features. The Model T, for example, includes a touchscreen and advanced passphrase options for enhanced security.
Step 3: Install Trezor Suite
Trezor Suite is the desktop and browser interface where you’ll manage your cryptocurrencies. It’s similar to the Ledger Live Desktop in concept — intuitive, sleek, and user-friendly. Download it directly from the official page to avoid tampered versions.
Step 4: Connect and Initialize Your Device
Plug your Trezor into your computer using the provided cable. Follow the on-screen prompts to install firmware, create a new wallet, and generate your recovery seed. This seed is your lifeline — write it down on paper and never store it online.
Step 5: Secure Your Recovery Seed
During setup, you’ll be shown a 12 to 24-word recovery phrase. Store it offline, away from prying eyes. Many users invest in metal seed storage plates for fireproof and waterproof protection. Remember: losing your seed means losing access to your crypto forever.
Step 6: Start Managing Your Crypto
Once setup is complete, open Trezor Suite. You can send, receive, and track assets such as Bitcoin, Ethereum, and stablecoins. You’ll also find features like portfolio overview, exchange integration, and security checks.
Why Trezor is Trusted Worldwide
Trezor, developed by SatoshiLabs, is one of the oldest and most reputable hardware wallet providers in the crypto industry. Its open-source design and transparency ensure that the community can audit its security architecture anytime. Here’s why millions choose Trezor:
- Offline key storage: Your private keys never touch the internet.
- Open-source firmware: Transparent code audited by global security experts.
- Strong passphrase options: Adds a second layer of protection.
- Integrated portfolio management: Manage all your assets from one secure app.
- Community trust: Supported by developers, educators, and security professionals worldwide.
Trezor vs Other Hardware Wallets
While both devices are industry leaders, Trezor stands out for its open-source transparency and intuitive interface, giving users complete peace of mind.
Pro Tip: Verify Every Transaction Physically
One of the strongest layers of protection Trezor offers is physical verification. You must confirm every transaction directly on your device, preventing unauthorized fund transfers even if your computer is compromised. Always cross-check the address and amount before approving any crypto movement.
Common Mistakes to Avoid During Setup
- Downloading from unofficial sites: Always use trezor.io/start directly.
- Digital storage of seed phrases: Never take screenshots or store it in cloud storage.
- Skipping firmware updates: Always keep your Trezor firmware current to patch vulnerabilities.
- Ignoring passphrase protection: Add a passphrase layer for sensitive holdings.
FAQ: Everything About Trezor.io/Start
1. Is Trezor.io/start safe to use?
Yes. It’s the official setup page maintained by SatoshiLabs. Always verify the URL and SSL padlock before entering any sensitive information.
2. Do I need an internet connection to use Trezor?
Your device operates offline. You only connect online through Trezor Suite for transaction broadcasting, ensuring your private keys never leave the device.
3. What if I lose my Trezor?
If your Trezor is lost or damaged, you can recover your funds using the recovery seed phrase on any compatible wallet. Without the seed, your crypto is unrecoverable.
4. Can I use Trezor Suite on mobile?
While primarily designed for desktop use, you can connect Trezor to Android devices using OTG cables. However, full functionality is best experienced on desktop.
5. How does Trezor compare to Ledger Live Wallet?
Both are secure hardware solutions, but Trezor’s open-source model offers more transparency. Many users also find Trezor’s touchscreen interface more intuitive than Ledger’s button-based system.
Conclusion: Empower Your Crypto Journey with Trezor.io/Start
As the crypto space grows, so do the threats. Trezor.io/start remains the safest and most reliable path to safeguard your digital wealth. With offline storage, open-source trust, and intuitive design, Trezor empowers you to take control — not just of your crypto, but of your financial independence.
Protect your crypto. Start today at Trezor.io/Start.